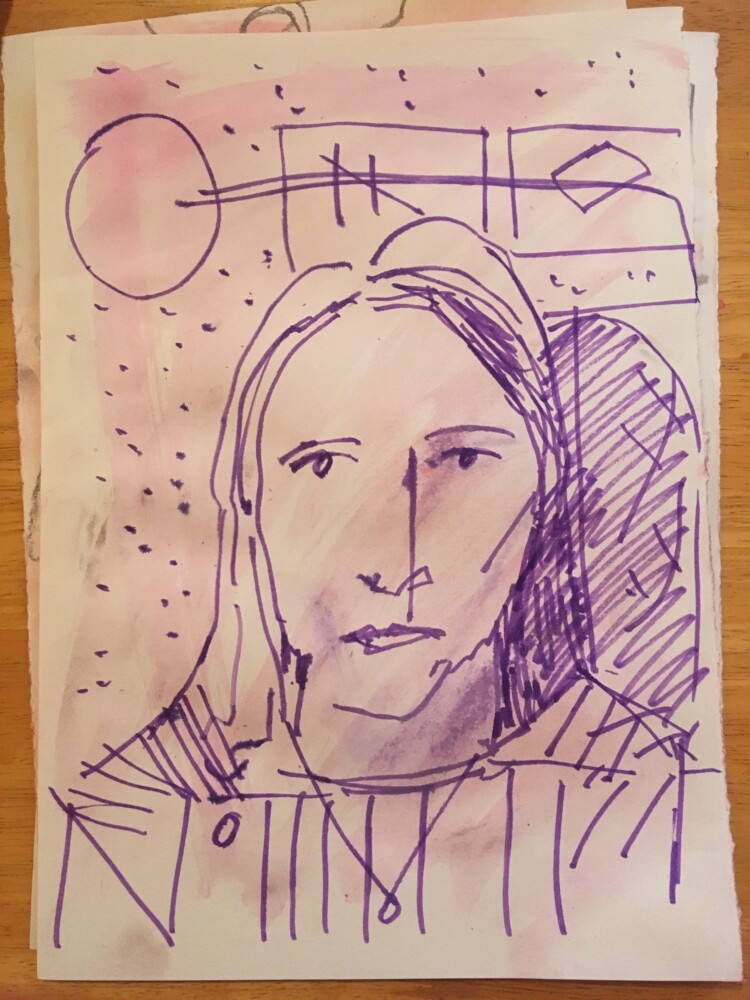
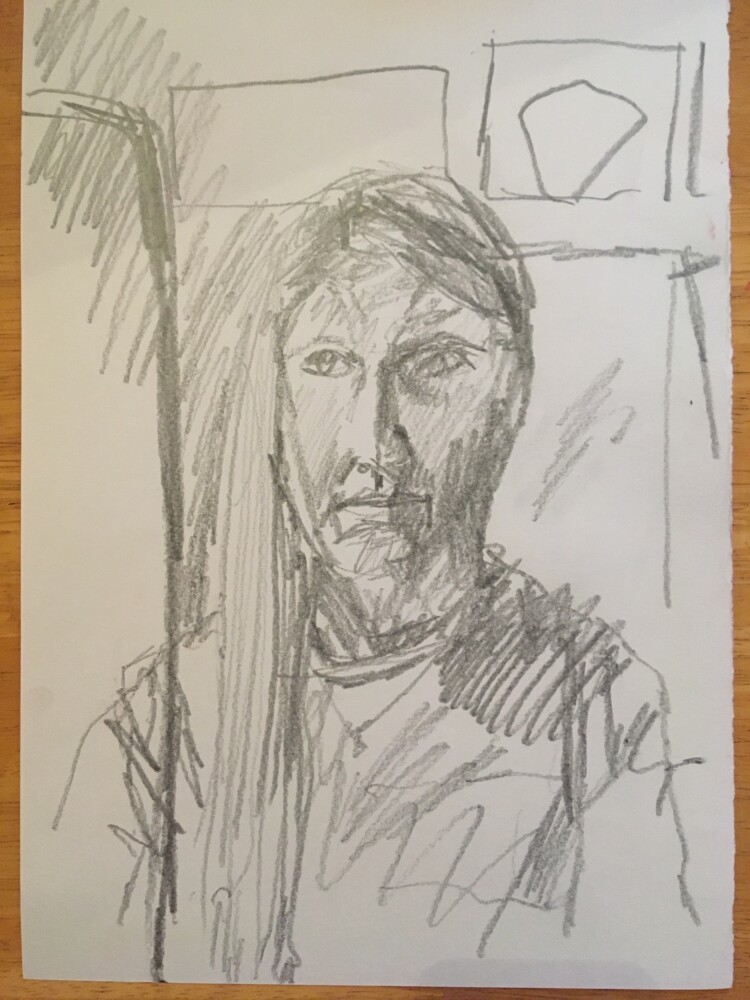
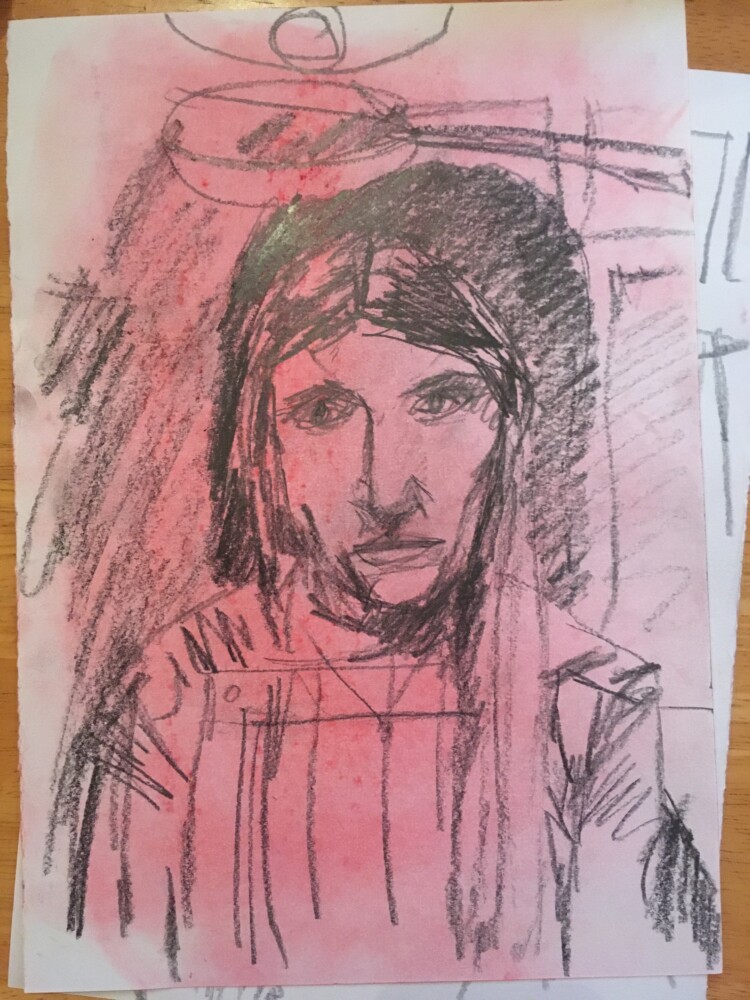
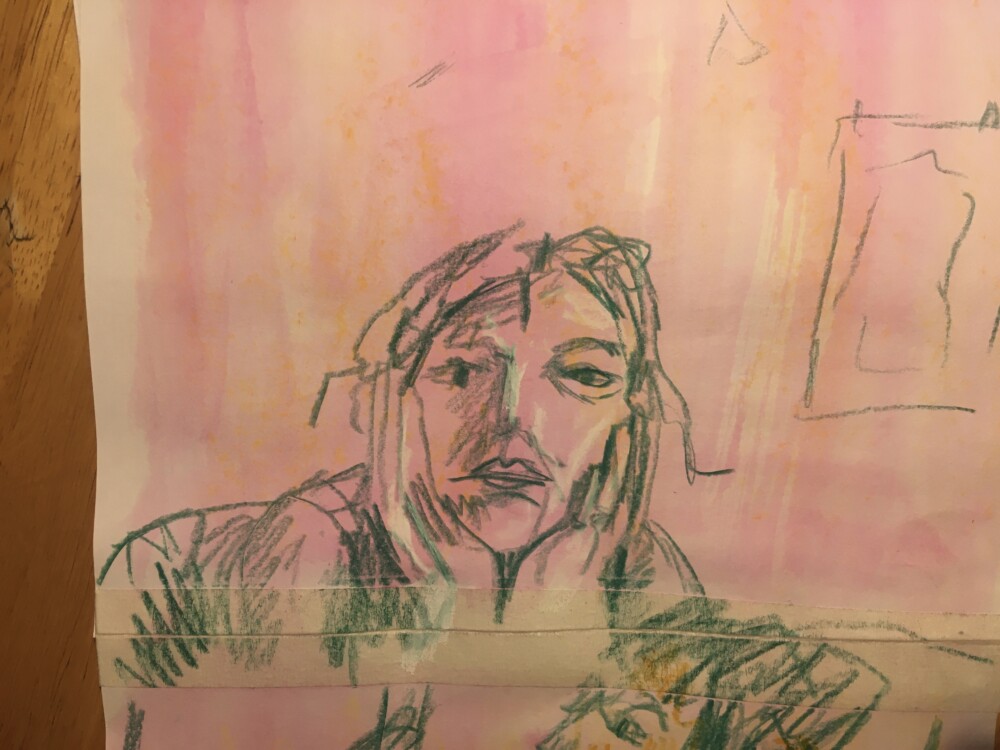
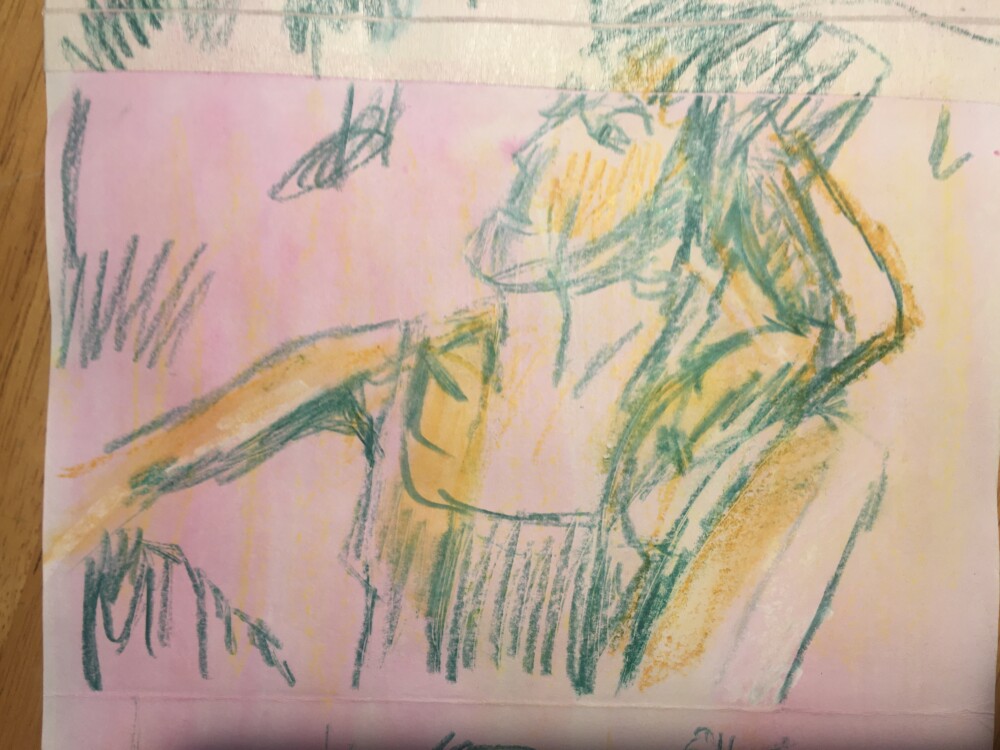
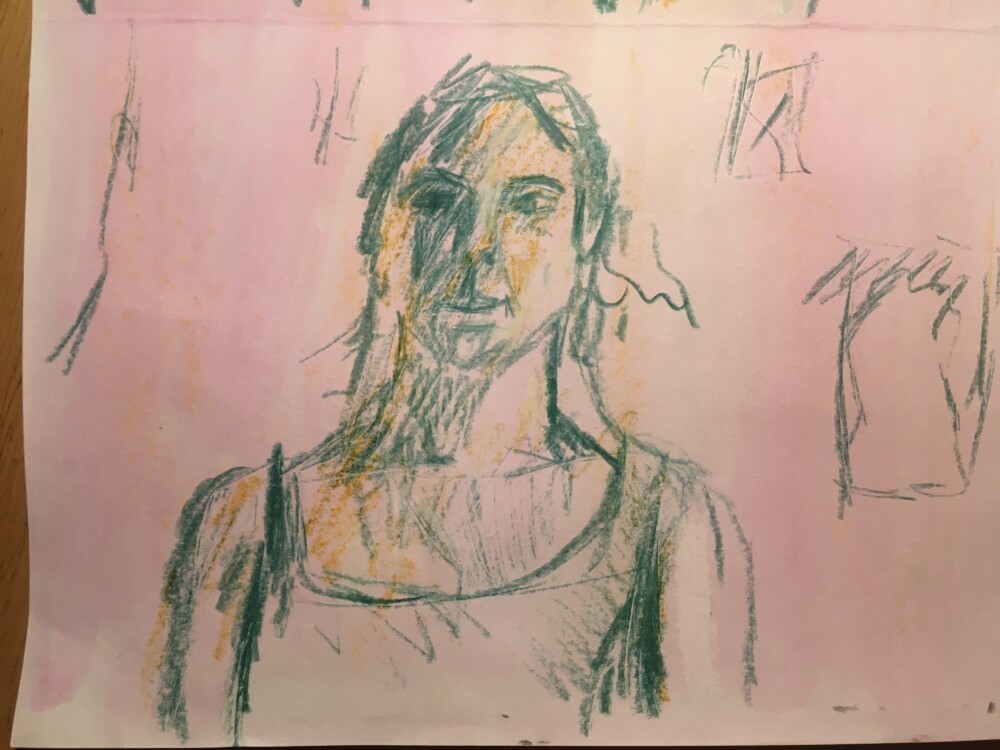
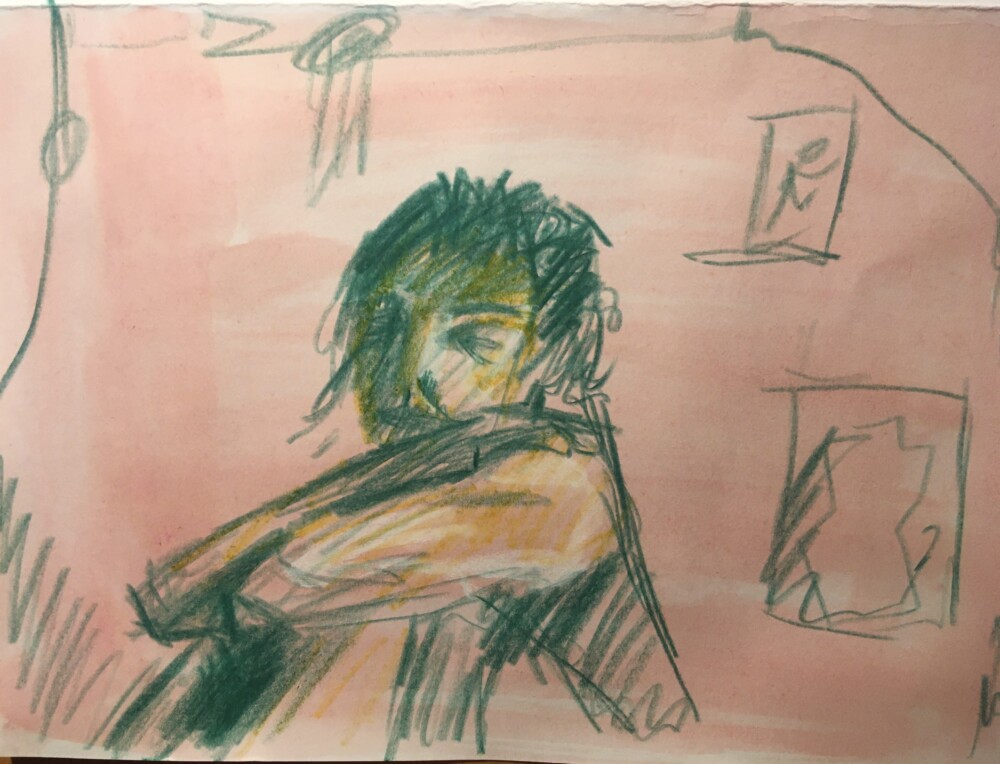
I attended a five week online course at the Royal Drawing School London, from my home in Donegal. Portraits and Self Portraits, Expression and colour, taught by artists Sophie Charalambous and Sharon Brindle, with about twenty students in the class.
Week One: Sophie Charalambous
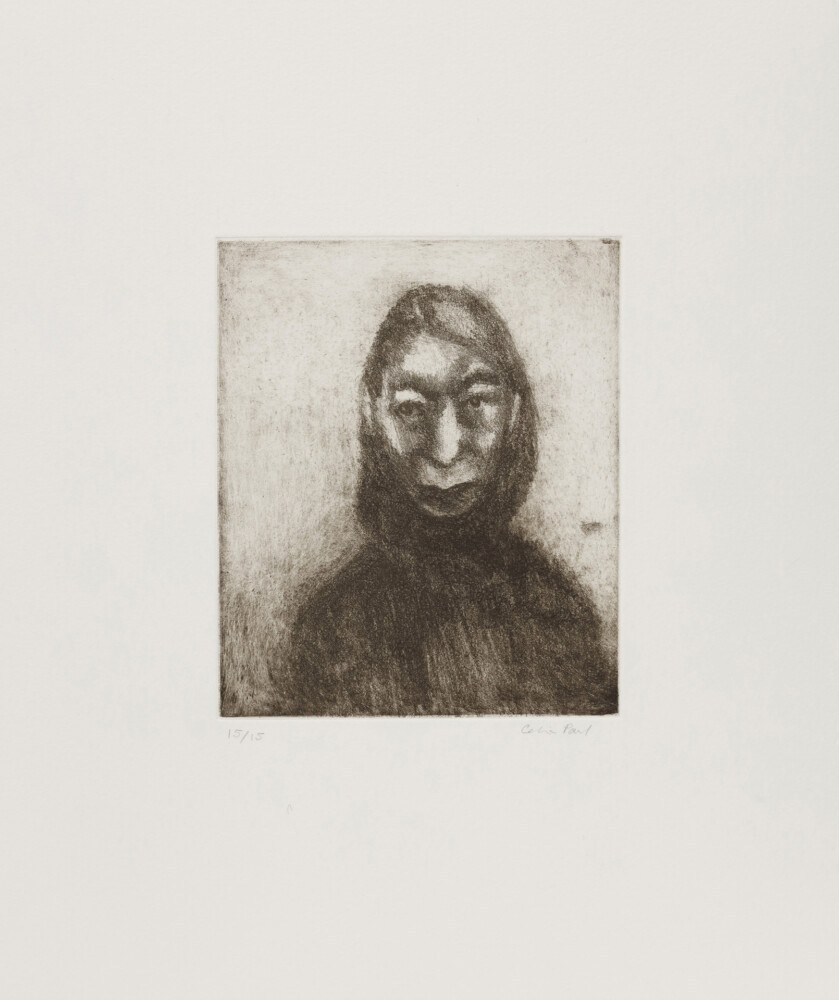
We looked at examples of portraits – different techniques and ideas such as leaving traces of the “mistakes” -showing the process of the drawing in the final piece….using scribbly loose lines and repeatedly going over them so that a weight builds up….using different weights of lines… quick scratchy marks with white highlights, dots and dashes or crosshatching for tones and to add depth….
We did six very short drawing exercises with our model, Moss, then had one longer pose. Here are the exercises if you fancy trying them out yourself.
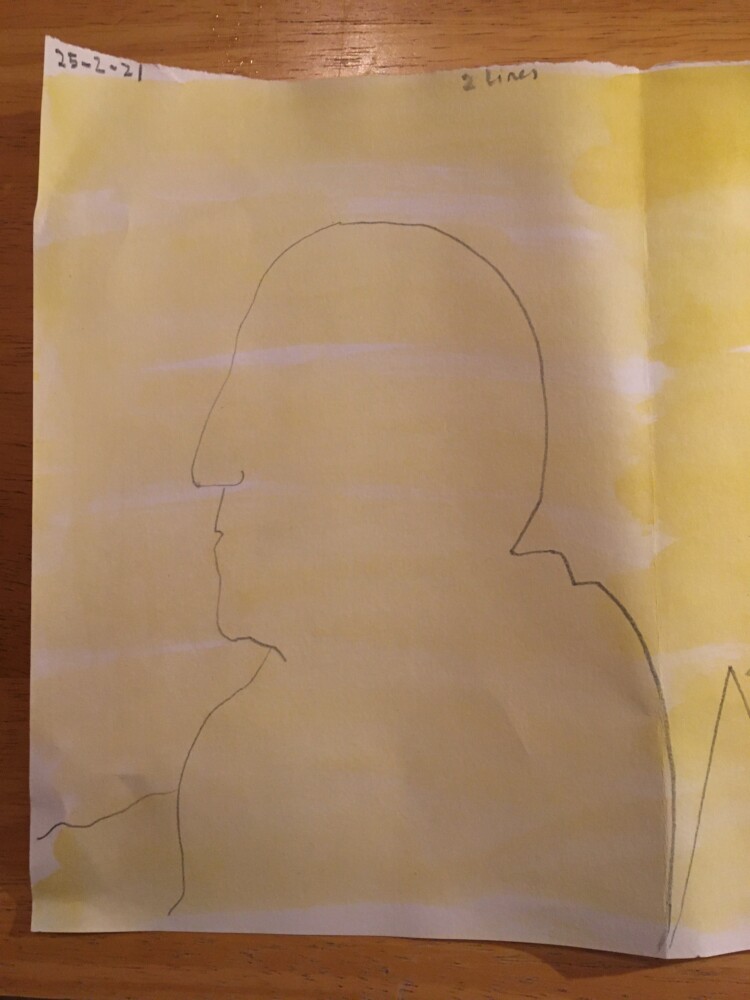
- Just use two lines and draw the outline
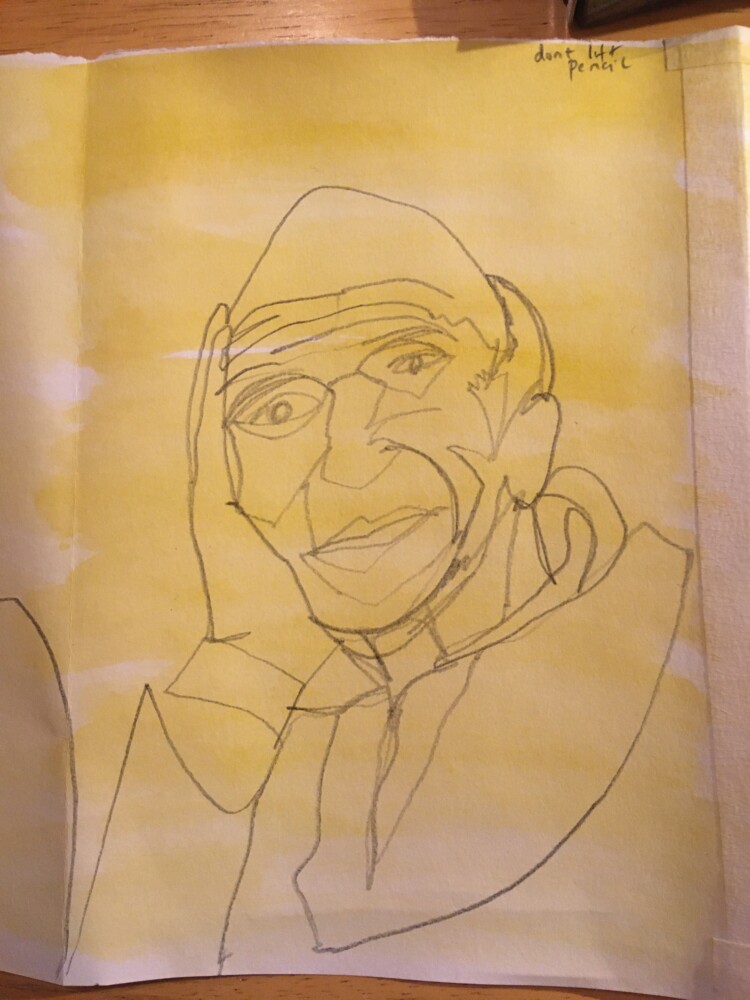
2. One continuous line (don’t lift the pencil!)
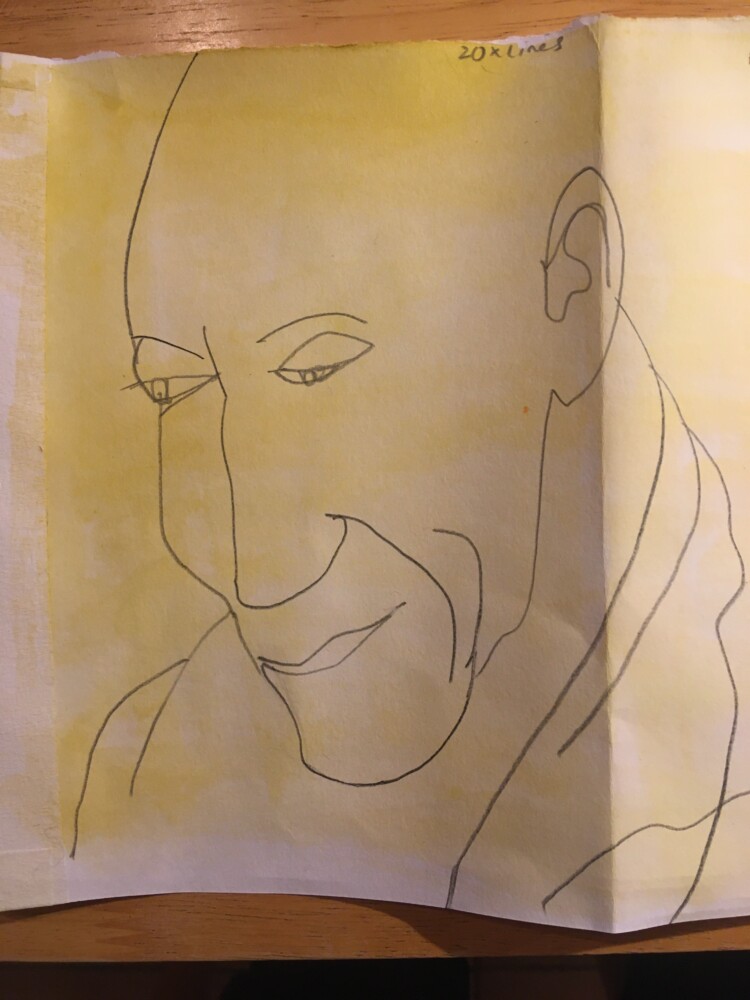
3. About 20 lines
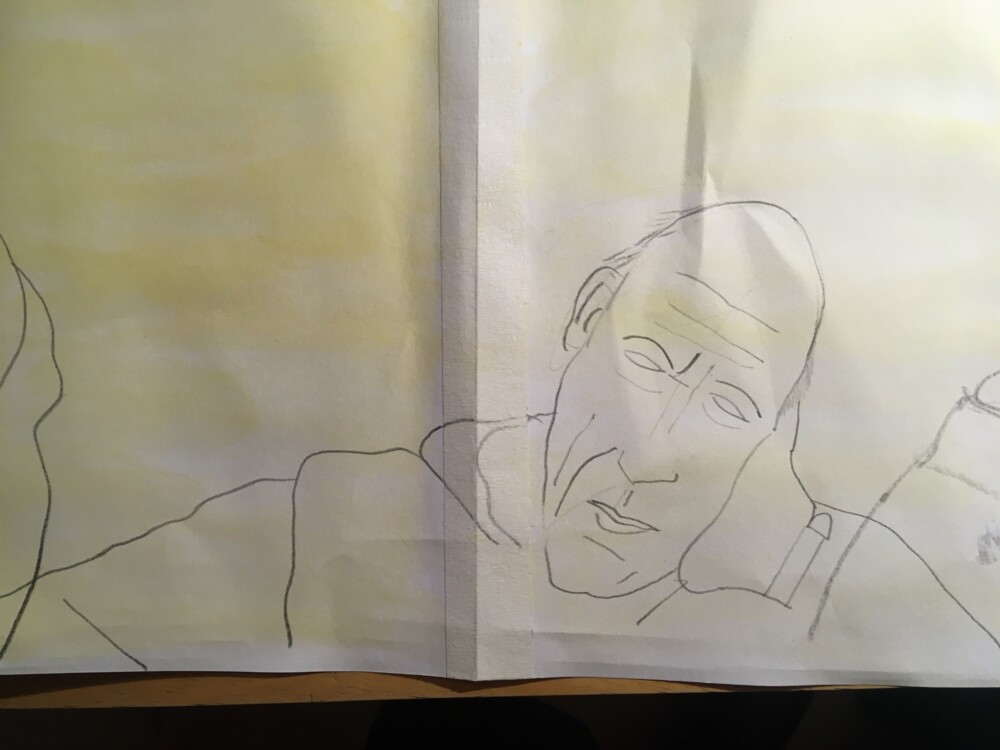
4. Tonal line – add weight or lightness to the line itself
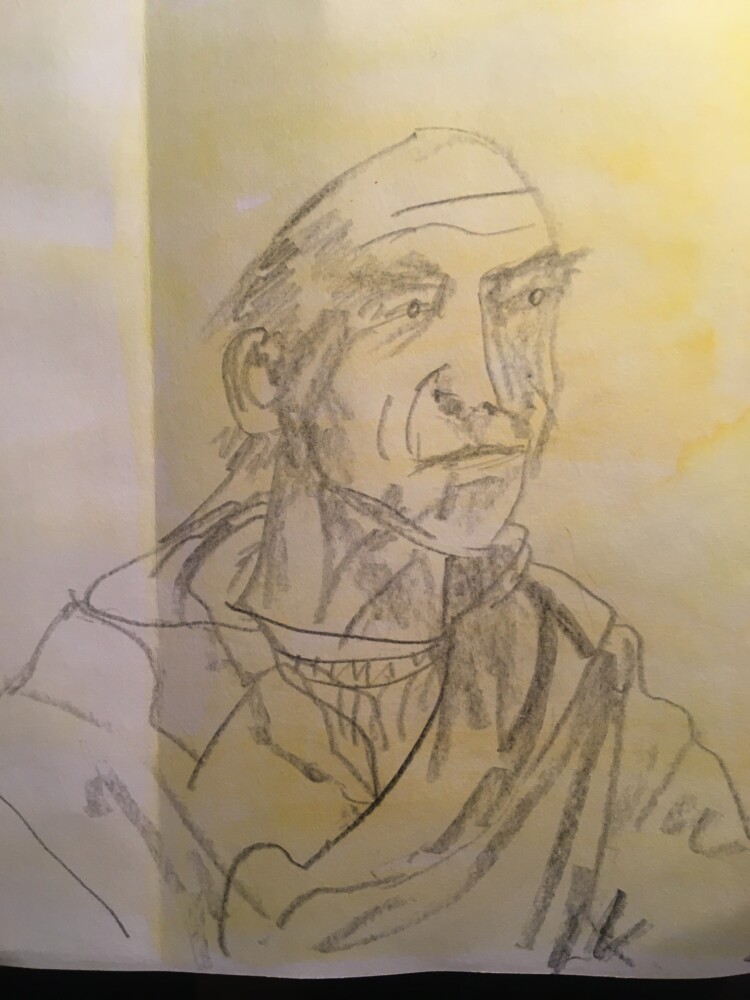
5. Use the flat part of the pencil to bring in a variety of tones
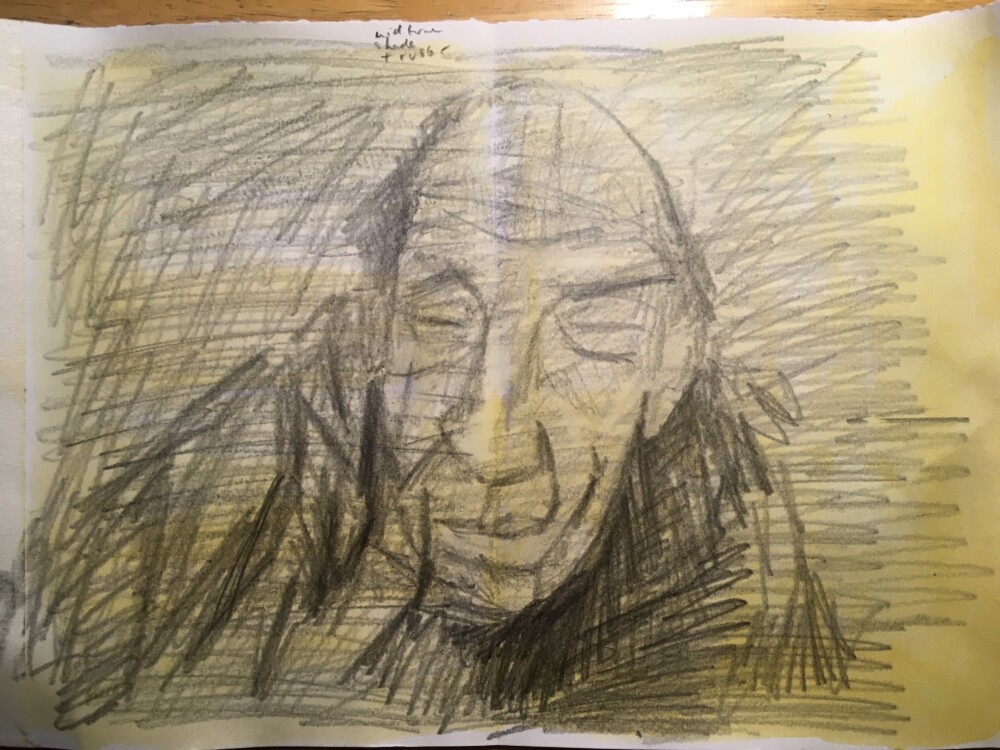
6. Shade in the page to use as mid tone- add more darkness with 4b pencil and use rubber for highlights
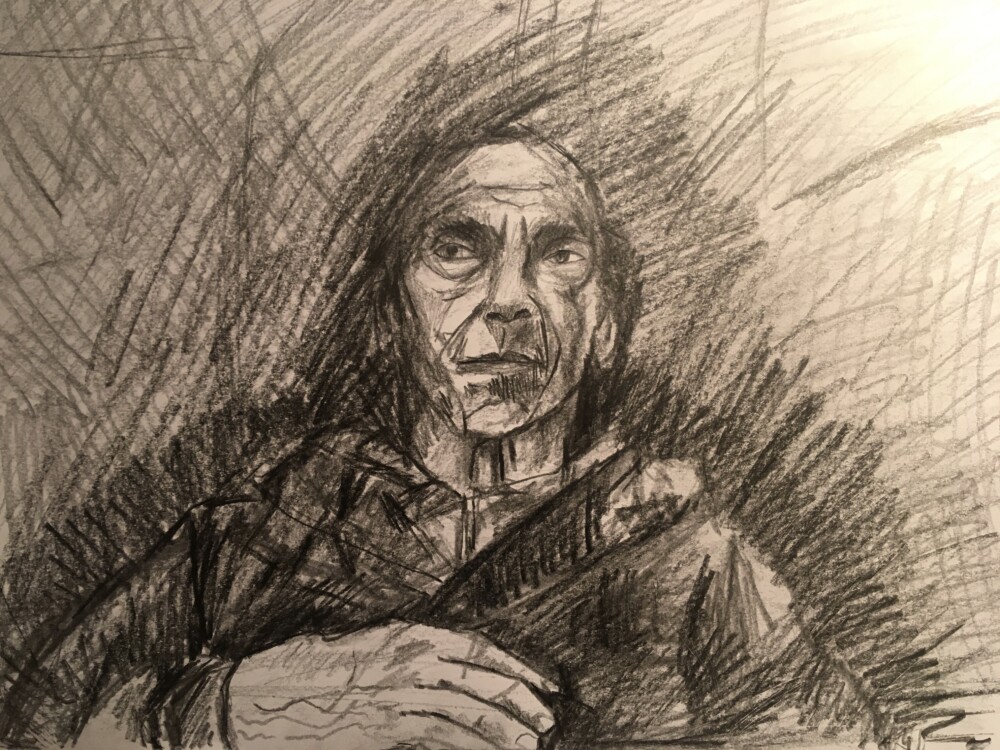
Then for the longer pose I used exercise 6 as my “jumping off” place. Drawing via Zoom gives a more forced perspective than in person so the hands look a bit dramatic.
Week 2: Sharon Brindle
Week two with Sharon Brindle. We looked at different artists and techniques to start with- Hammer Shoi, Gwen John, and Pierre Bonnard…
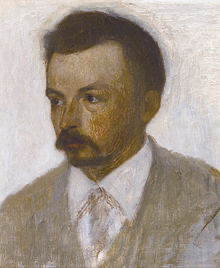
Noticing how Hammershoi kept to 3 or 4 tones (too many might fracture the image)… what I love about the Royal Drawing School classes is that they always deal with the nitty gritty- like pointing out that he probably used a second mirror when doing this portrait to get the angle…. and maybe theres a light source behind him along with one to the side… things that maybe are obvious when your experienced but not when you’ve never done a self portrait before…I love learning about how artists actually do the thing!
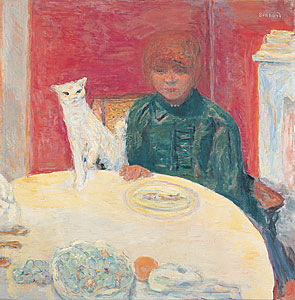
We looked at this painting by Bonnard- Woman with Cat- he didn’t paint directly from observation but made drawings and colour notes first, then painted…
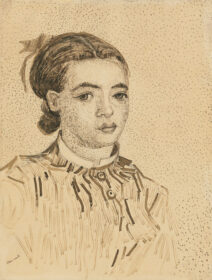
Van Gogh, La Mousmé – made with Reed pen, brown ink and pencil- integrating the air around the subject and creating a beautiful atmosphere in the drawing…
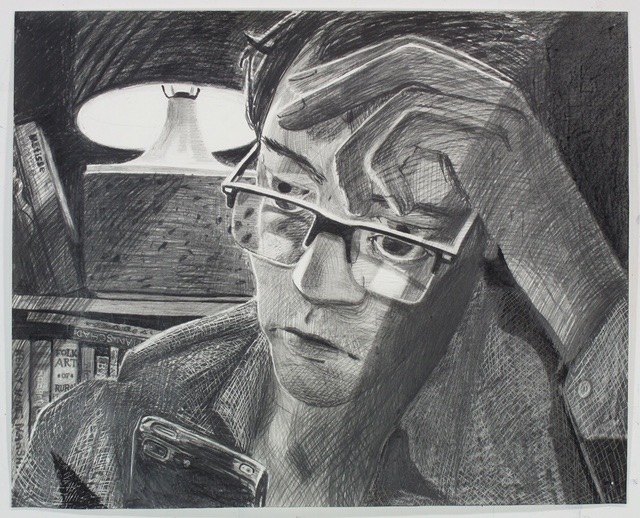
We did 3 x 10 minute self portraits- thinking about composition, tonal quality, and limit the colours… we were advised to look at the form analytically and try act like you’ve never seen yourself before!
Also something obvious maybe (but not for me!) is to turn off the big light and just use the small light to cast more dramatic shadows on your face…
Squint to compare tonal values and practise with extreme contrasts of light
Top tip- if you get stuck with your drawing try changing material…
Experimenting is encouraged!
Think about the space around the figure…. draw yourself within the space….
Keep looking!! Constantly check back and look at overall piece whilst you are working on details….
Be self aware whilst drawing and if you feel yourself loosing it, take a big risk/ make a big change – better to ruin it than to have a middle of the road/safe/‘meh’ drawing …. see why I love my teacher!?
“The not-knowingness is a very creative position”
Then we had a longer pose to finish the class.
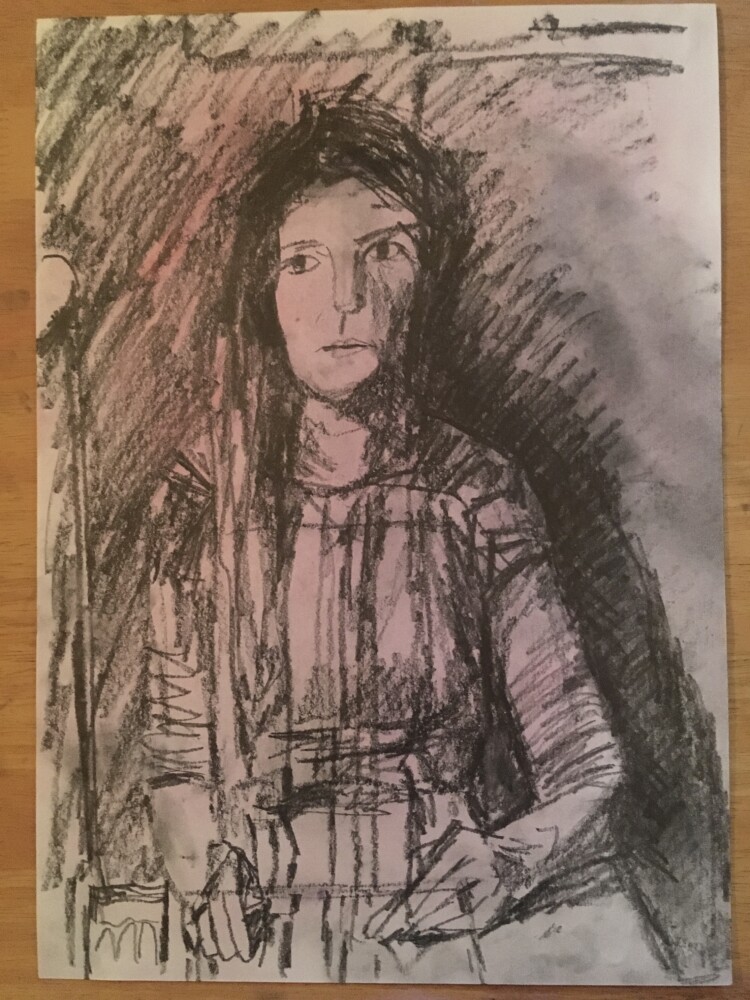
After each exercise we upload the images to a shared classroom space and the teacher gives us feedback. We can also ask for help mid ways if we are stuck which is great – and everyone learns from the feedback for the other students too. For this drawing I hadn’t enough mid tones which would help to give depth … and it would be a good idea to practise changing from light to dark tones in the one line.
Week Three: Sophie Charalambous
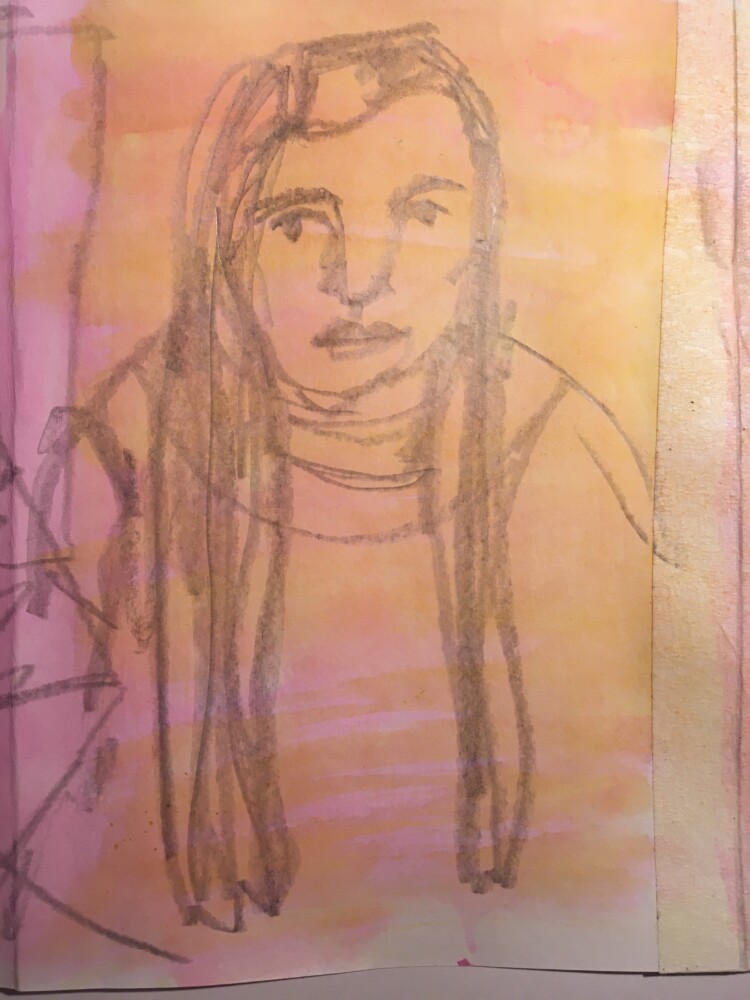
This week focussed on hands – we did 5 minute drawing exercises. Draw your right hand with your left hand and vice vearsa; draw using one continuous line, draw your head and hand together – how do we connect the two? Show pressure where they connect; draw both hands together – look closely, then draw from memory.
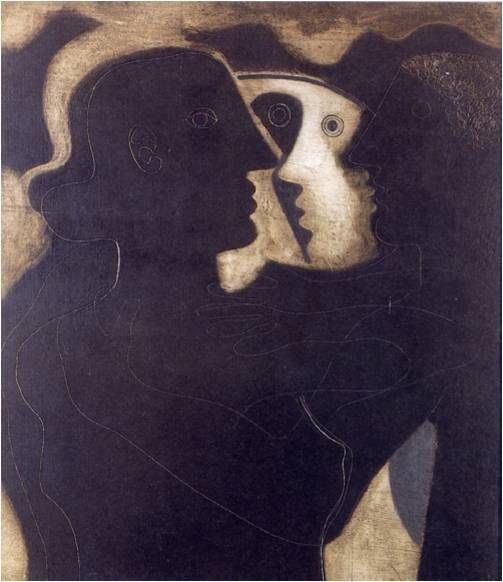
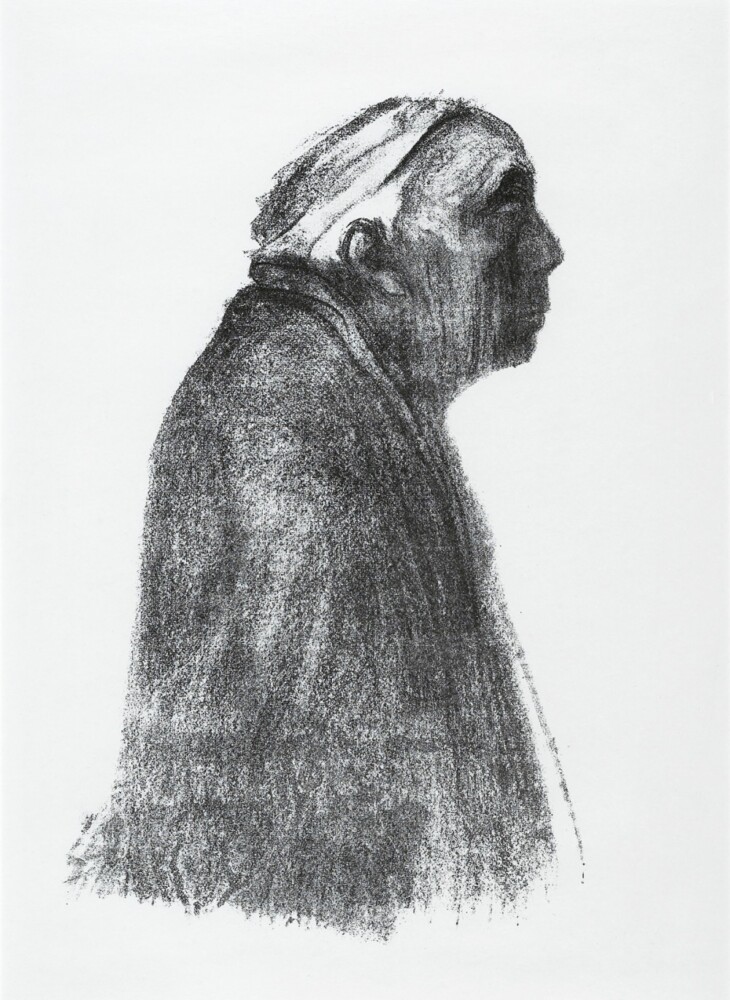
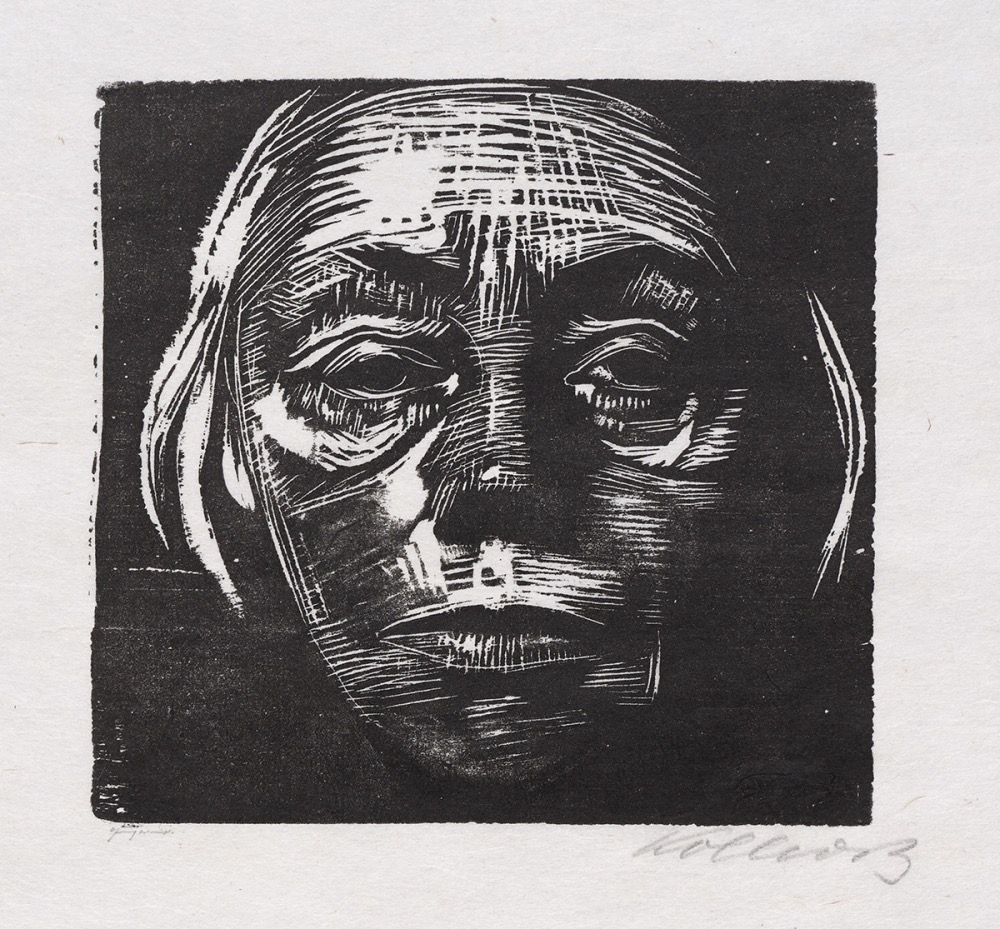
We looked at Paula Modersohn-Becker who used objects as part of the narrative of the painting; Henry Moore, Barbara Hepworth, Egon Scheile, Alice Neel, Maggie Hambling, Picasso, Lucien Freud, Kaethe Kollwitz, Fernand Leger and Max Becker.
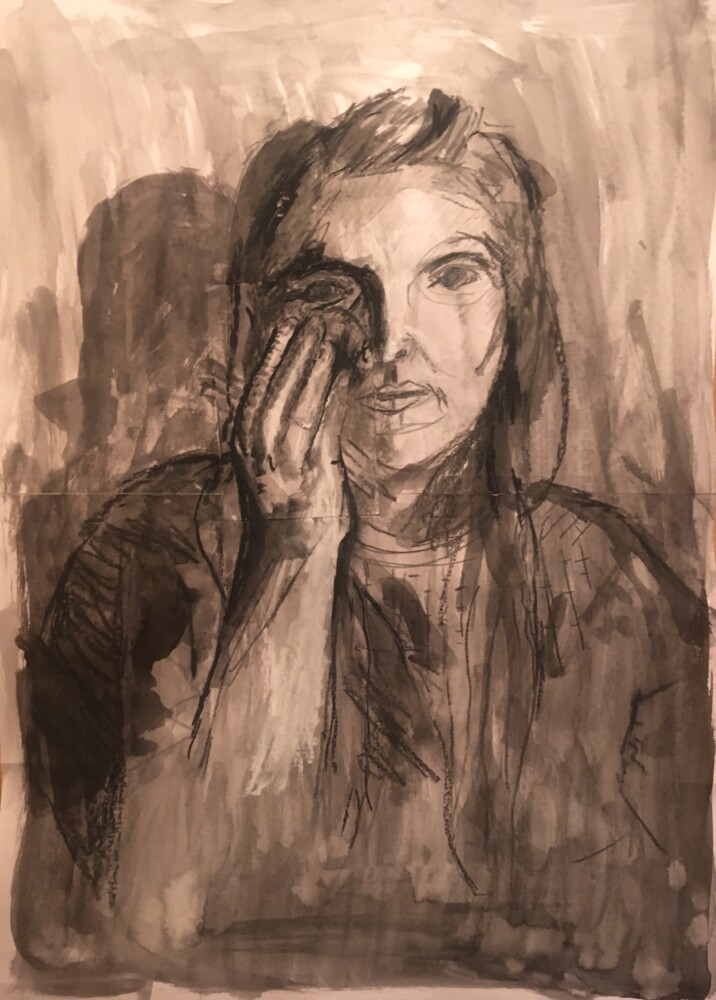
After week three I did some homework – a portrait of my husband Patrick..still unfinished.
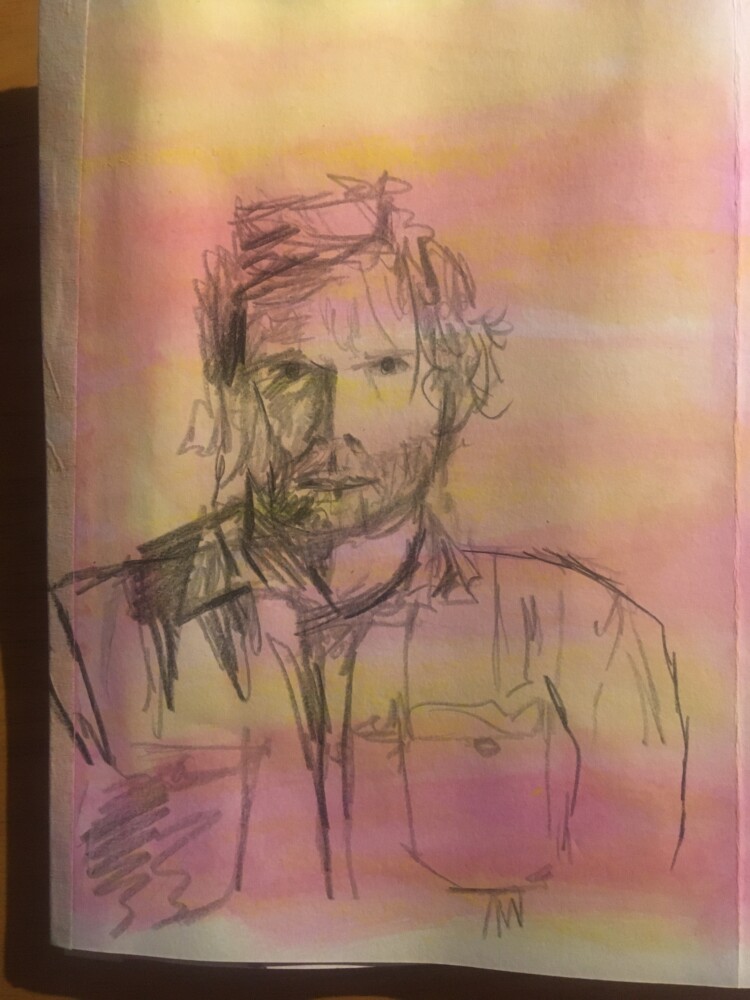
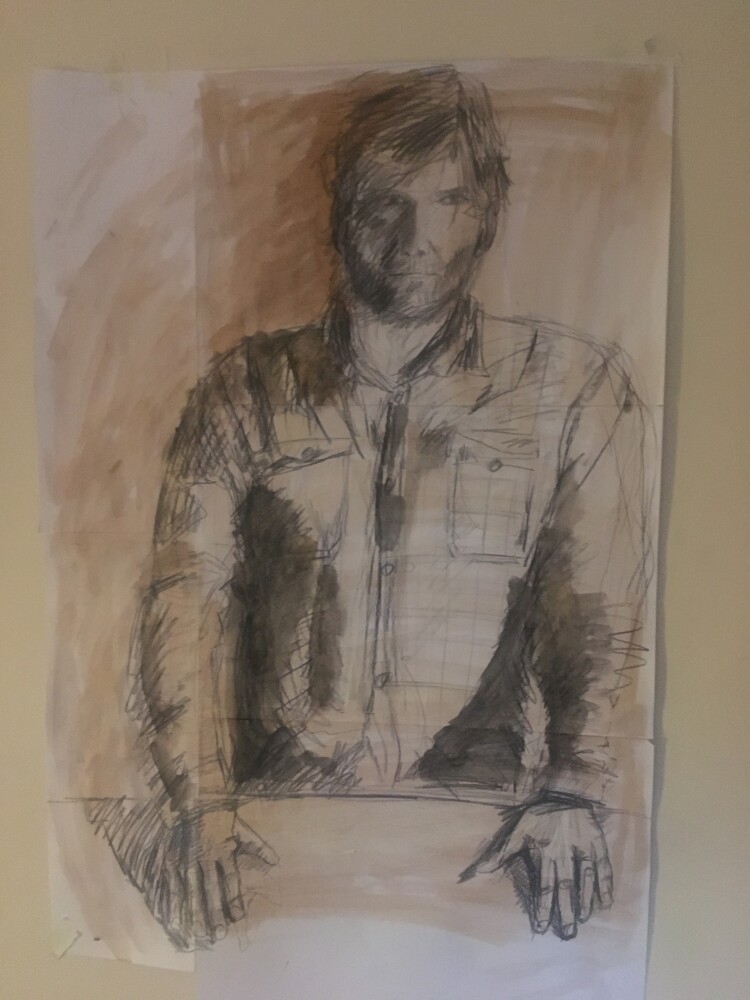
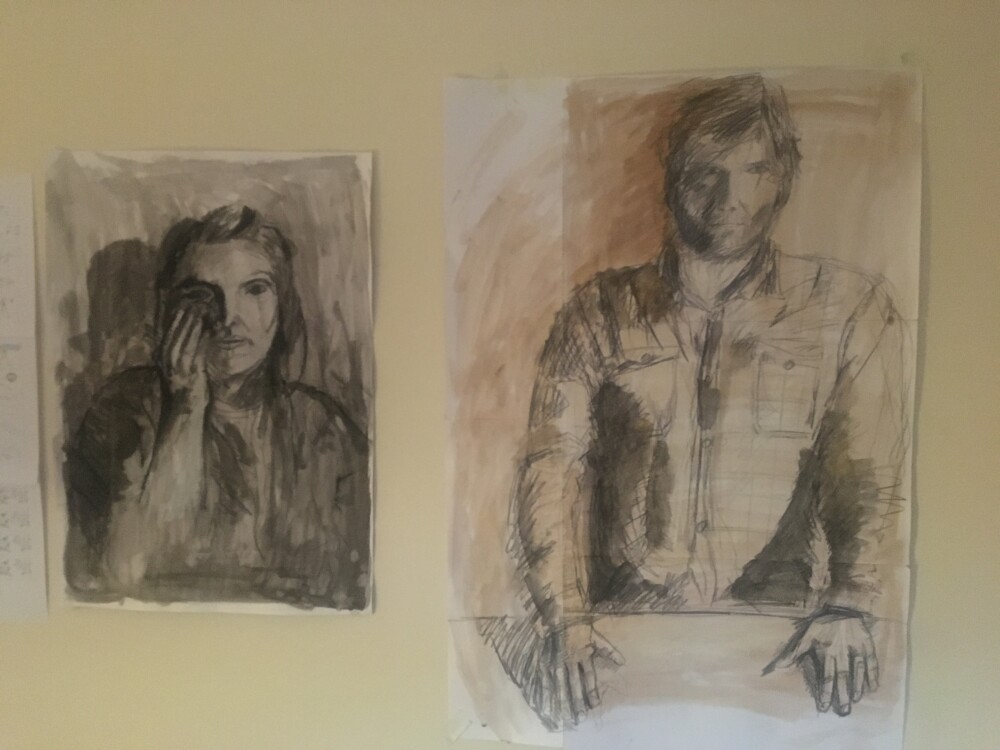
Week 4: Sharon Brindle
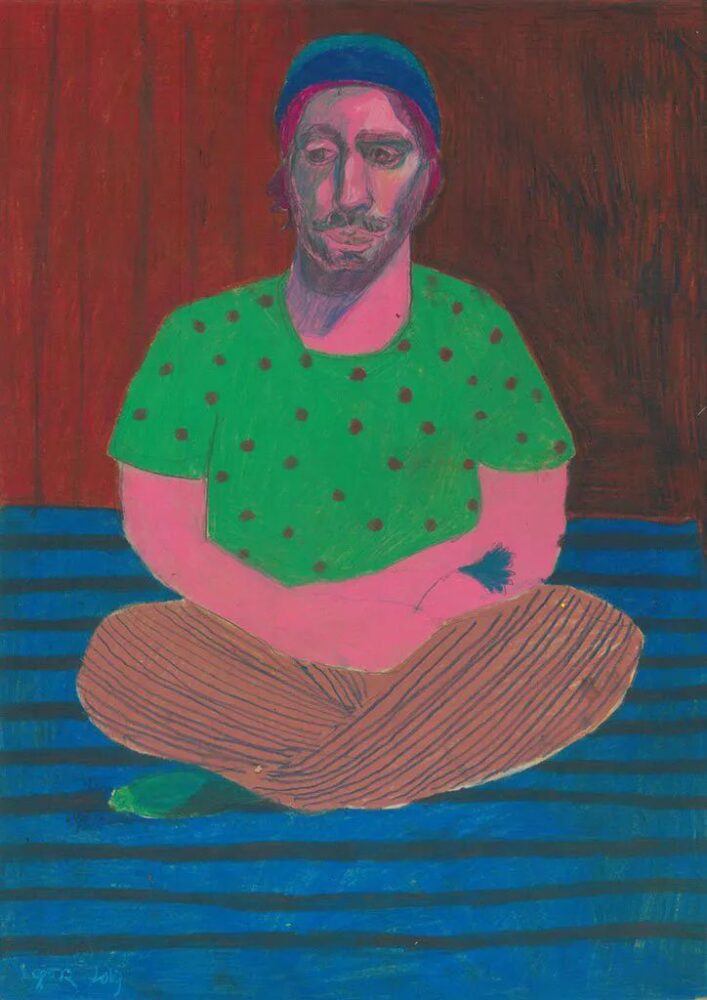
This week we looked at how artists use colour in their portraits.
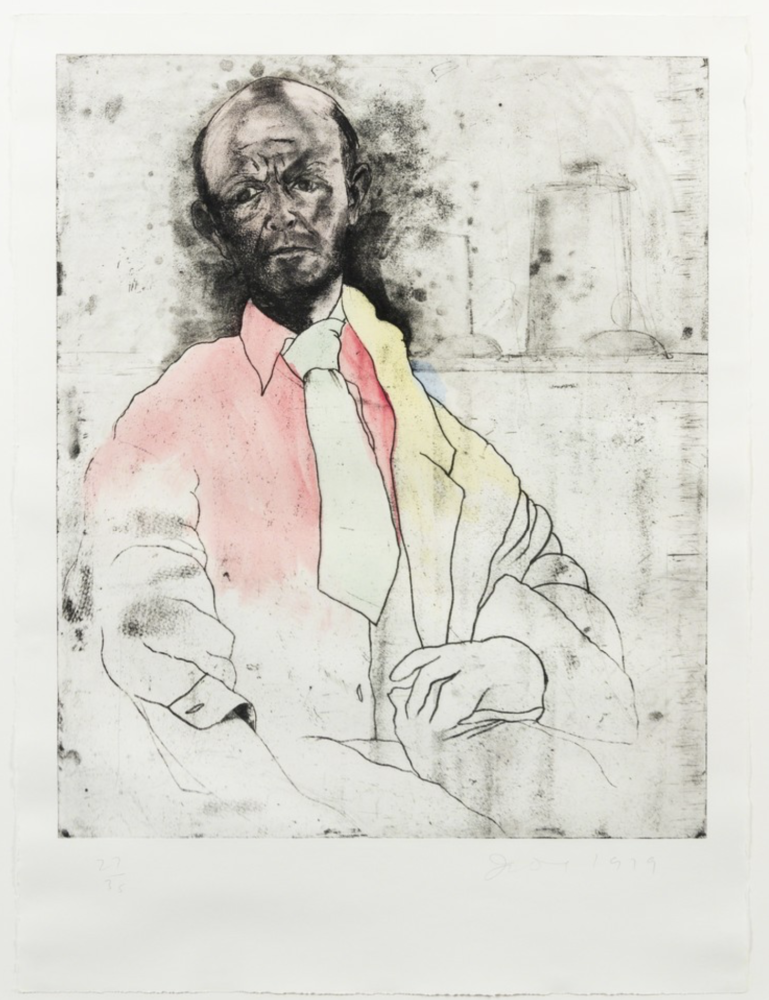
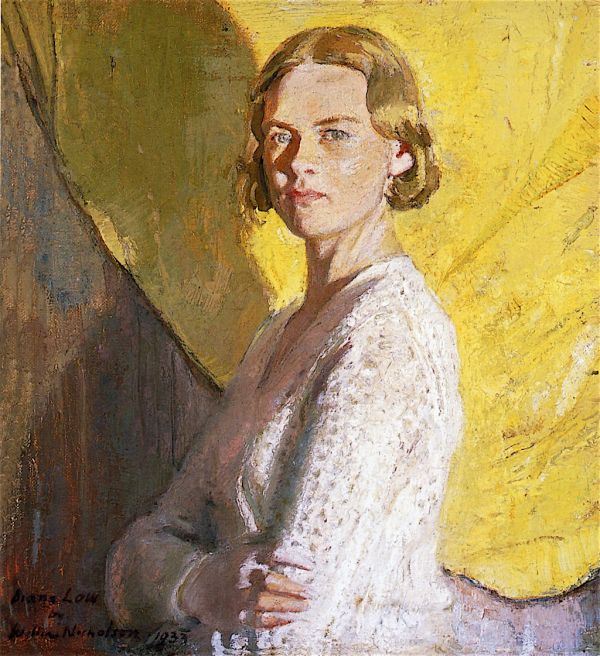
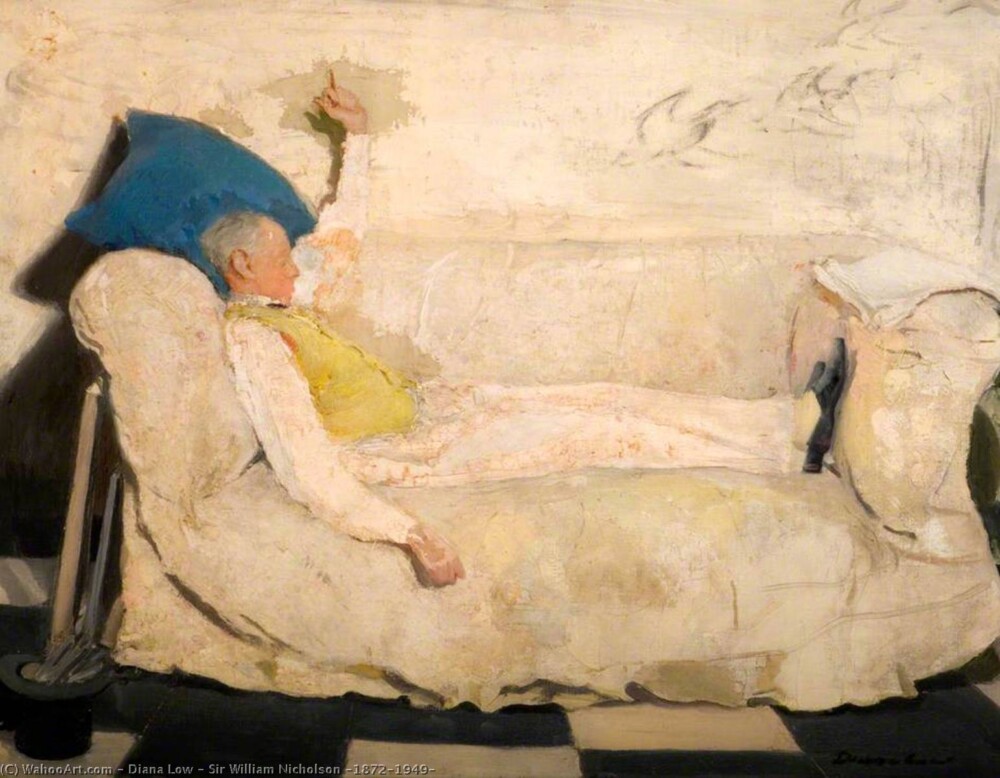
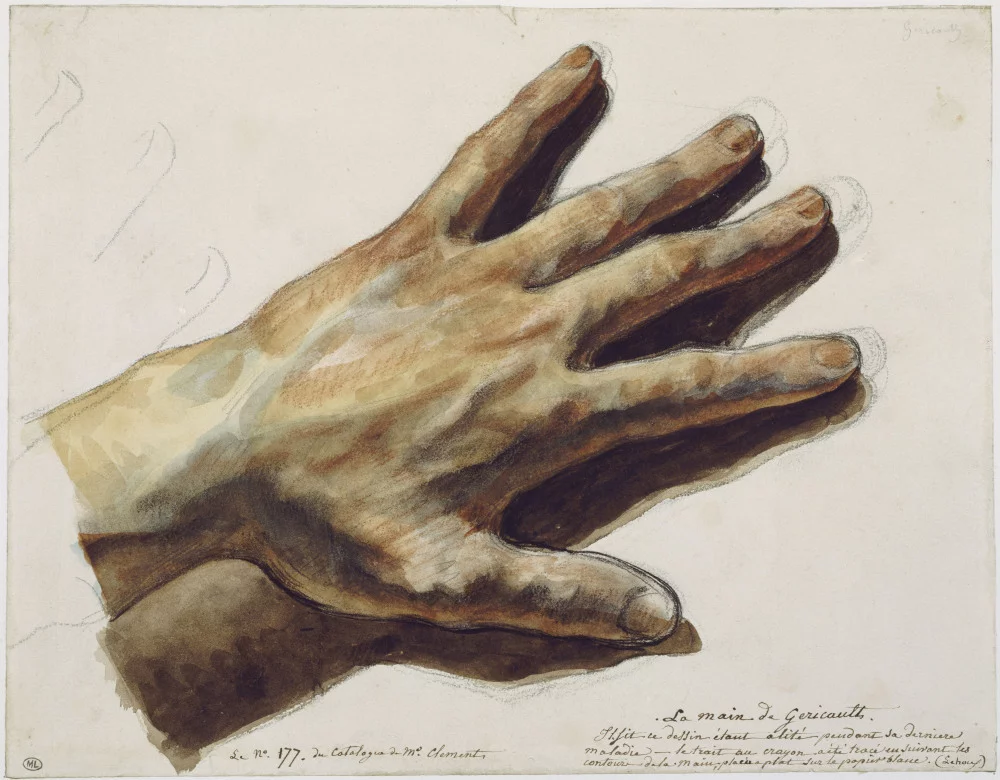
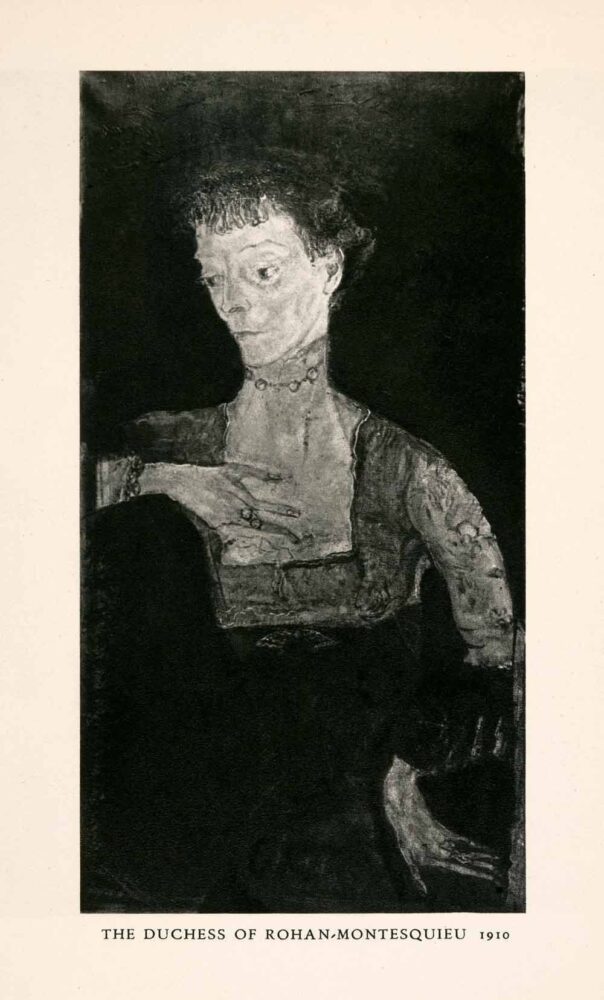
We started drawing with 2 x 20 minute poses with our model Natasha.
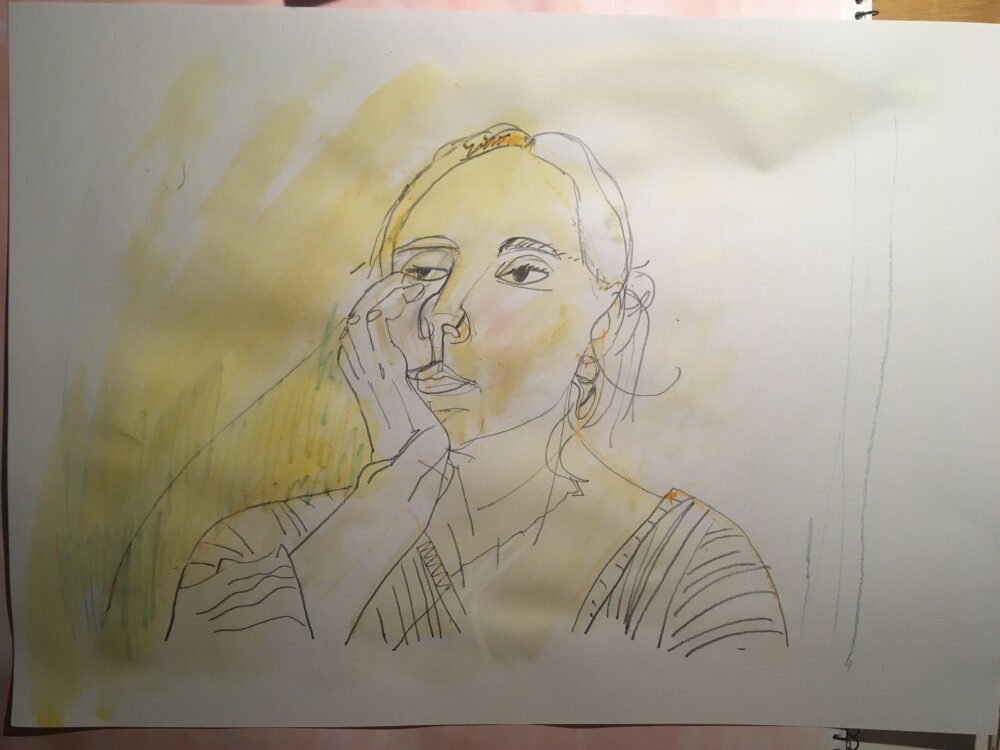
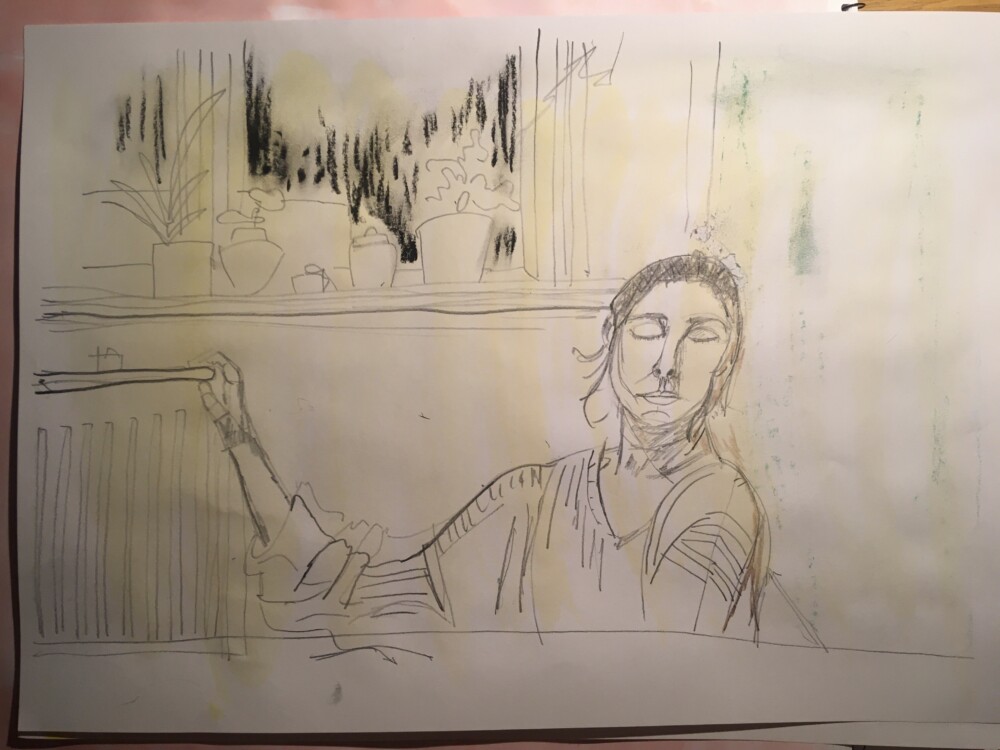
Next we did 4 x 5 minute small sketches using a very limited palette – 1 colour for dark tones, 1 for mid tones and 1 for highlights. This forced us to think about relative values for colour instead of the actual colour. I started to play with combining tones and thinking about warm and cool shades, then layering. Our teacher spoke about swapping to your non dominant hand to make some quick drawings – this makes you focus more on looking and responding.
Long pose – our teacher Sharon Brindle spoke about staying with the same drawing for longer- once she was made to stay with one drawing for two weeks in college (Camberwell) – she kept having to push past wanting to stop and learnt loads in the process – it wasn’t about adding more details so much as taking the time to see what else there was to discover. This past year I’ve been thinking so much about time and what happens when you are working really slowly on a project (I’m slowly making an animation…about a snail). I feel like you can get things to a certain level being really efficient, but when problems arise that make you slow down, you get deeper into the work and a richness develops that couldn’t happen if everything was going “perfectly”. Maybe because it’s so easy to measure time, we give it too much importance when working. How much did I get done today/this week/this year? I am trying to let my work take as long as it wants to take but meeting a lot of resistance at the moment in terms of beating myself up for my slowness.
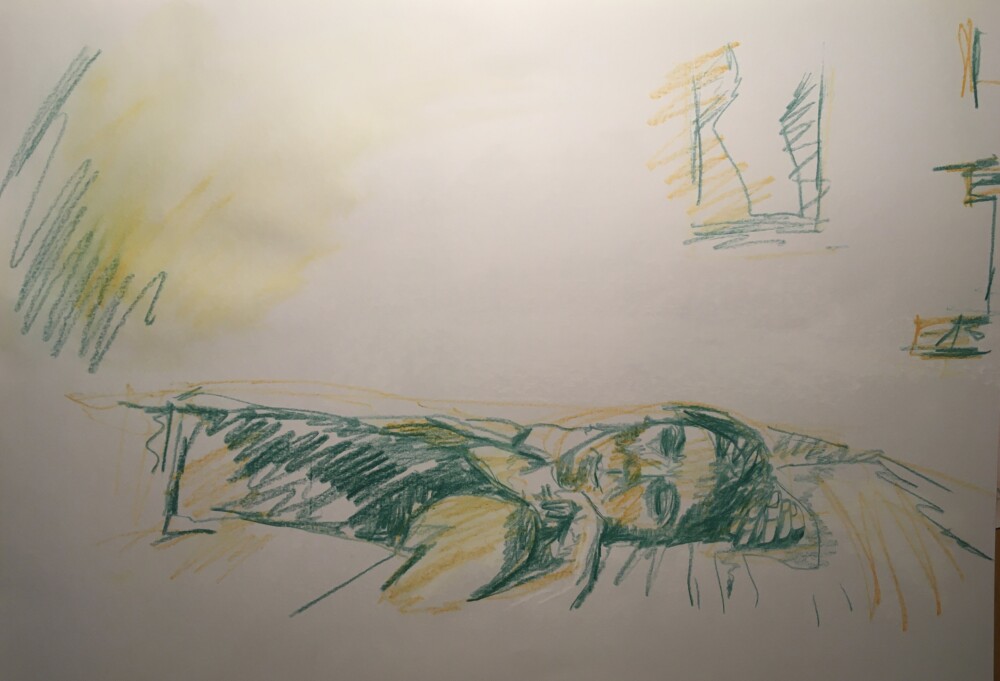
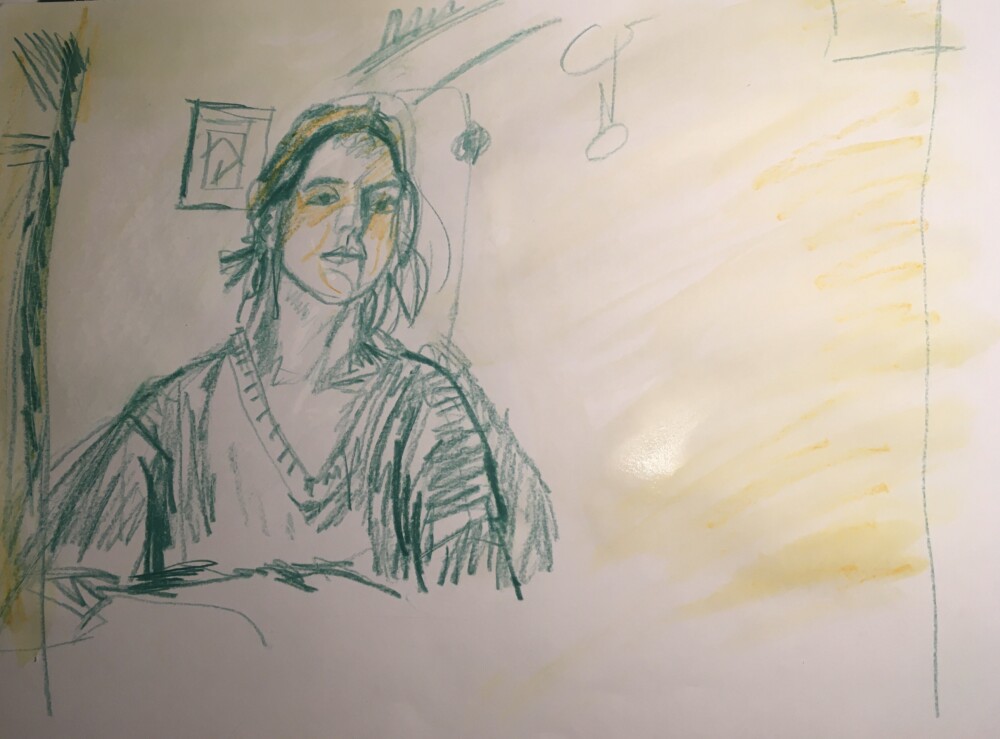
One last pose (15 minutes) to end the class.
Week Five: Sophie Charalambous
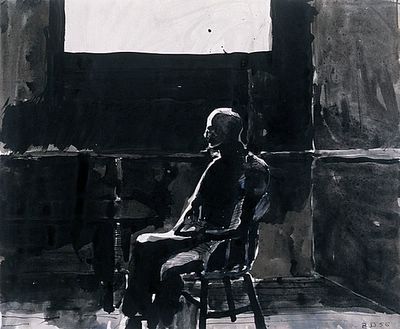
The final week focused on working tonally. We started with looking at other artists work.
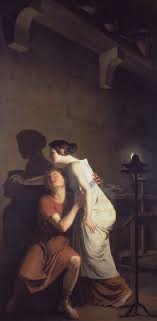
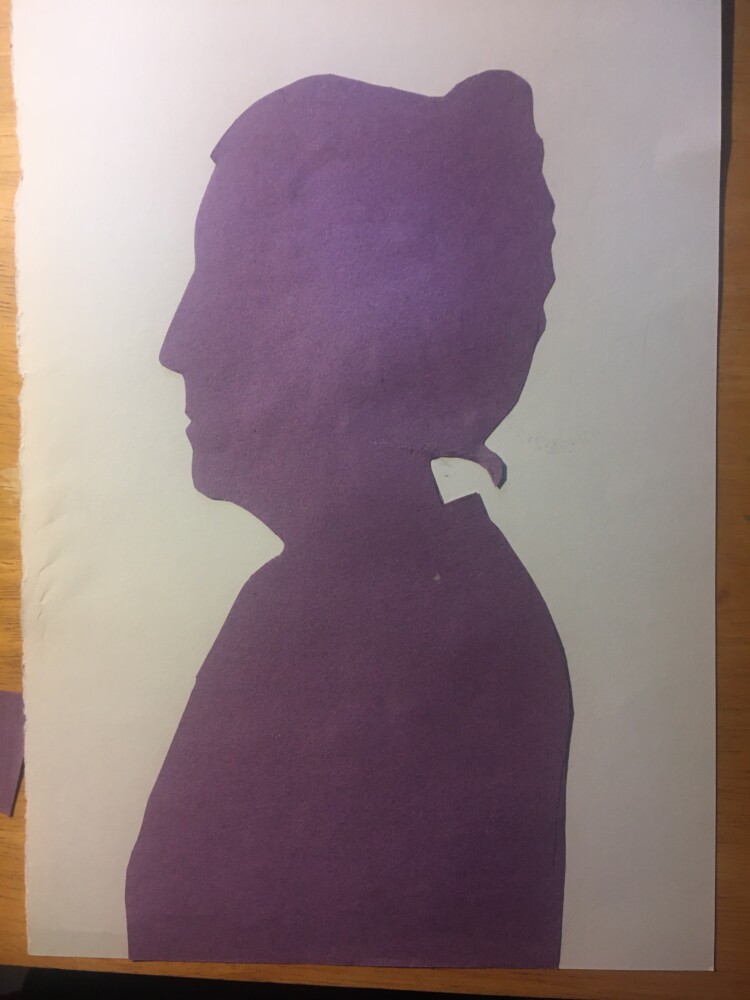
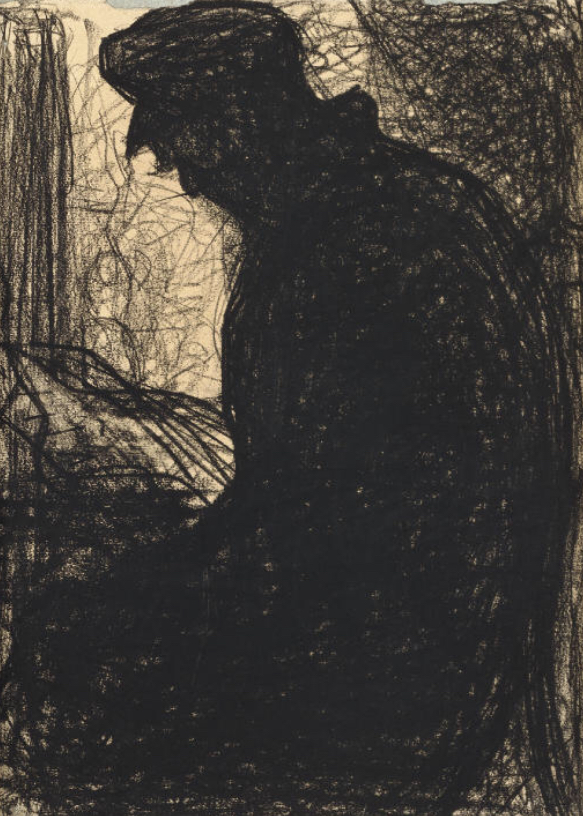
Our first exercise was making a cut out silhouette portrait of our model. In the 18th century, before photography, making silhouette portraits was popular as it was quite easy to get a good likeness – get your subject to sit in the candle light and trace their shadow.
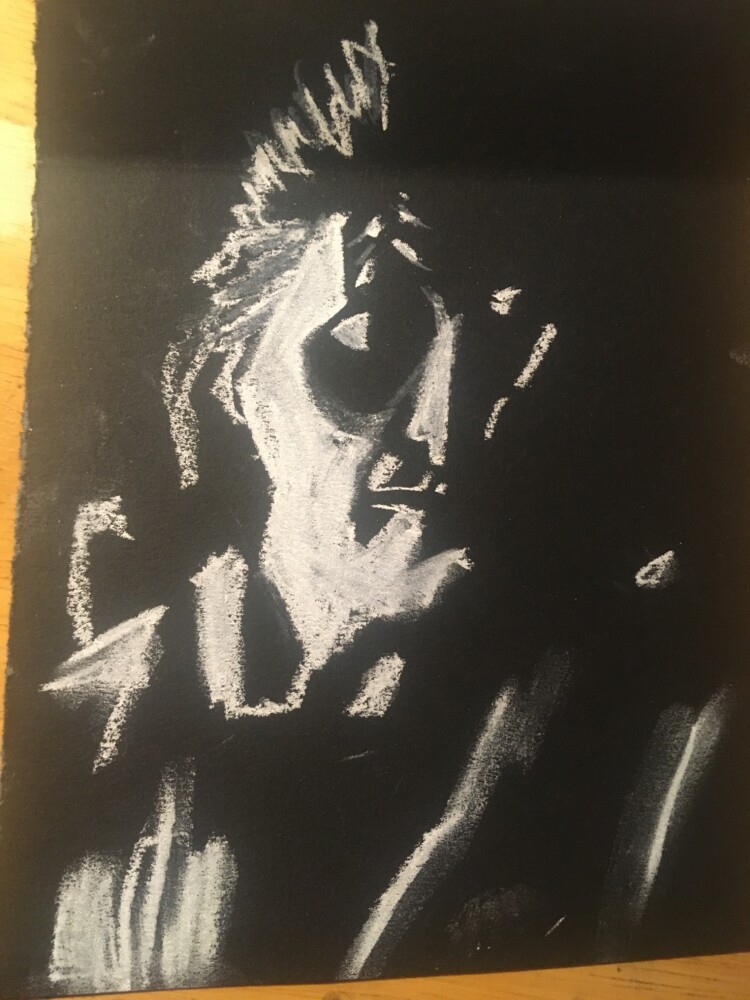
Exercise – Just draw the light tones, on dark paper
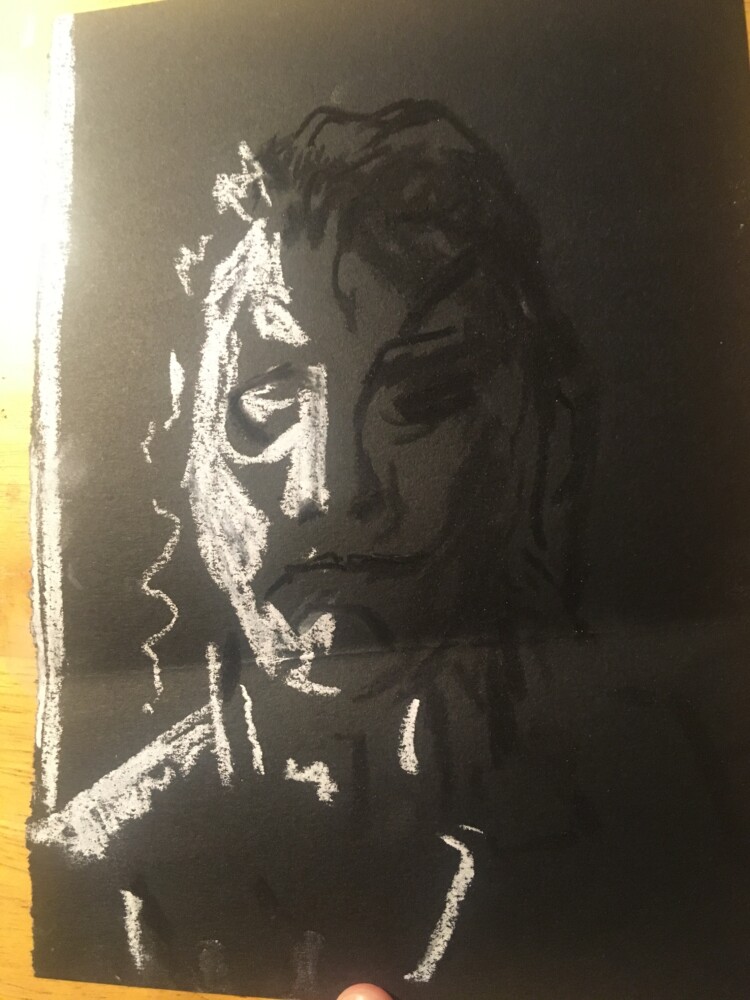
Exercise – draw dark and light tones, on dark paper
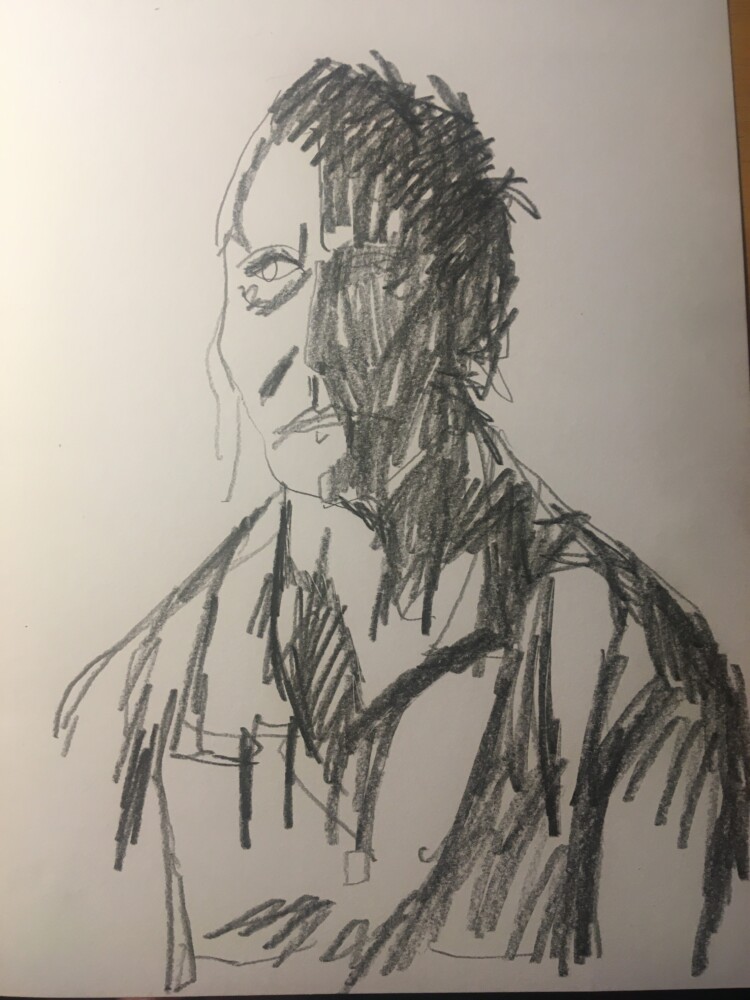
Exercise – draw the dark tones, on white paper
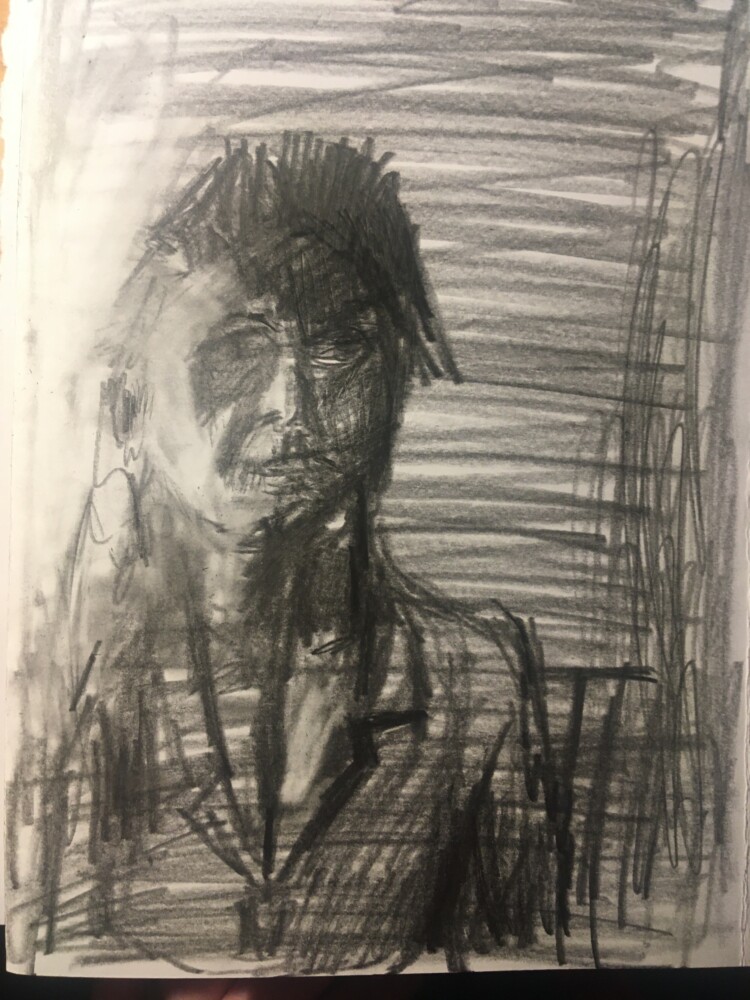
Exercise – darken the page background with charcoal or pencil to make the mid tone, then use eraser to create highlights and add more pencil for the darker tones (3 tones in total).
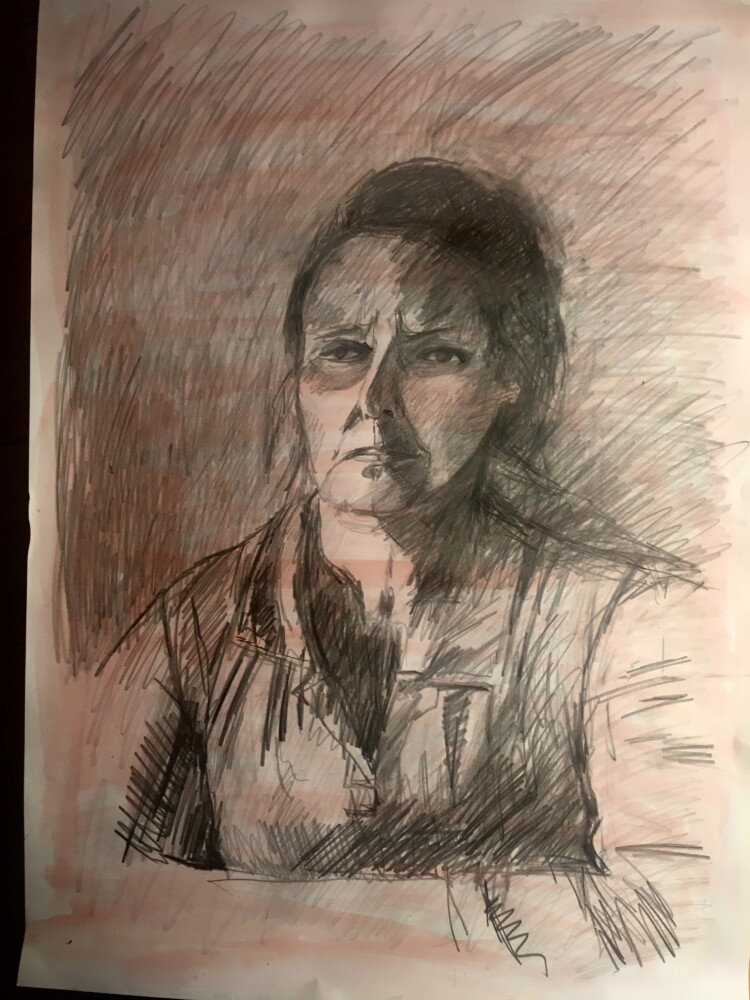
Final Drawing – Long pose (A2) with ink, graphite, and pencil
