I’m in the middle of a Letterpress 10 week evening course in the Distillers Press in NCAD with Mary Plunkett as my teacher.
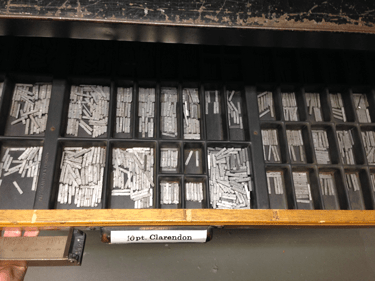
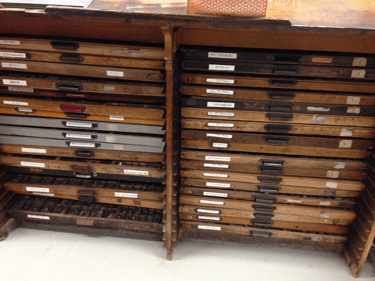
Week 1: Opening drawers to find tiny metal letters
The first evening we practised setting small type and learnt where everything was and had a go at some printing. With the little letters, every word takes a long time and you need to work very precisely to avoid a typo. The letters are arranged back to front so it’s important to “mind your p’s and q’s”. It’s so difficult! Can’t imagine having to live in the olden days and make newspapers from it! Thank God for InDesign.
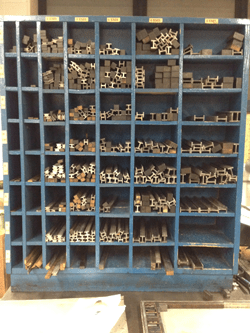
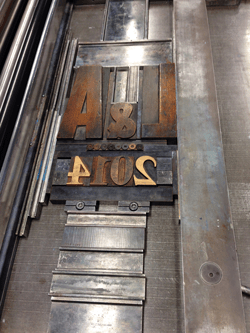
Once all the letters are ready you put them in the press and arrange “furniture” – different sizes of metal and wood all around them so that nothing can move. The furniture is also precisely sized and becomes a way of spacing everything correctly for your page layout.
Print presses have their own personalities, but like most things, once you know what to look out for you can get along well with them.
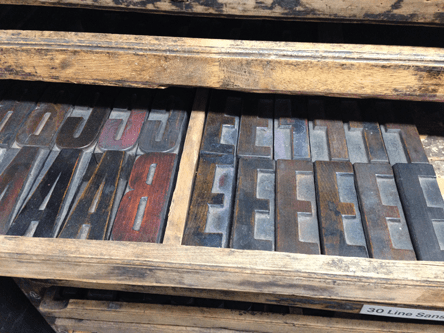
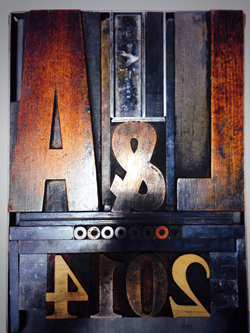
Week 2: Arranging wooden type and printing
I love the large wooden type and on the second week I made a little poster for my friends who are getting married. It’s kindof a surprise so don’t tell them!
After you get printed you need to clean all the letters and put them back in their drawers. It’s important to write down exactly which drawer they came from as you are gathering them so that putting them away is straightforward and doesn’t involve any guesswork.
The course is self directed so I have been trying to think of little phrases and quotes to spell out. The class lasts two and a half hours and it takes so long to set everything up it usually works out as one print run about every second week.
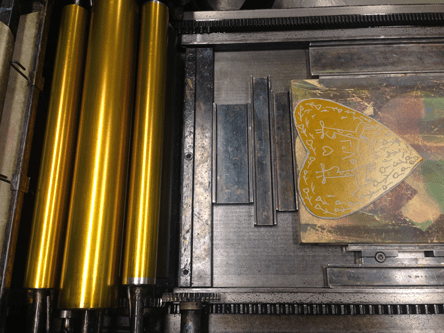
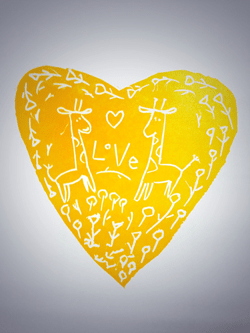
The second week I brought home some lino. I made a cute print of two giraffes in a love heart. The lino (which was of a specific depth to suit the setting of the press) was stuck down on some wood with double sided tape and then locked into place the same way as you would with letters.
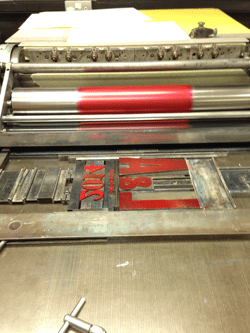
Week 3: Lino Printing
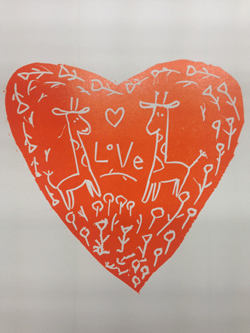
You can only print one colour at a time (unless it’s a gradient). I was lucky to get the chance to do two colour runs with my lino. A “golden sunset” yellow and an orange colour.
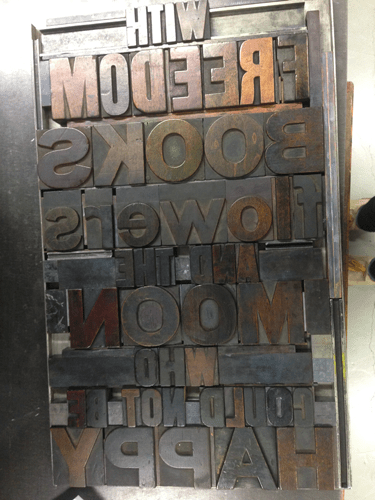
Week 4 and 5: Oscar Wilde quotes
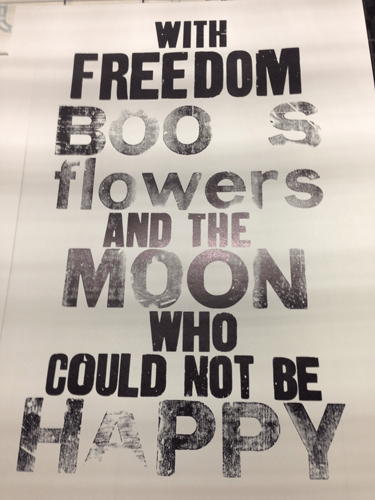
“With freedom, books, flowers and the moon, who could not be happy” – Oscar Wilde.
Got a quote to practise on and did a test run. Because I was using different fonts and some were old and worn away, I had to add some paper beneath some of the letters to raise them up to catch the ink. Need to go back and raise the K too! Am glad to get another go at it in the future because I want to add more space between the lines.
I had a little time to make a start on next weeks print: “Keep the hope fires burning.” but I’ll show you that in the next blog!
Here is a lovely video that explains how letterpressing works.
A Birth of a Book – Pointe Shoes from Alon Hetzroni on Vimeo.
Related Reading:
Letterpress course NCAD (Weeks 6-10)
Etching Workshop with Debora Ando